How to Install: Yale Linus® - Euro Cylinder
These steps will help with installation of the Linus® Smart Lock.
Euro Profile/DIN Cylinder Lock
This page will guide you through installing your Linus lock onto a compatible Euro Profile cylinder. If you need information on whether your cylinder if compatible, you can find it here. If you need instructions on installing the Yale Linus® adjustable cylinder, they can be found here.
There are two ways to install the Linus lock, depending on whether your cylinder sticks out from your door furniture on the inside of your door by at least 3mm (see video below). Based on that, please select the relevant option below:
Cylinder sticks out 3mm or more
This video will take you through the installation process, written instructions are also available below.

Download the Yale Home App
Please continue with setup of the Linus® unit by downloading the Yale Home App.


Installation Preparation
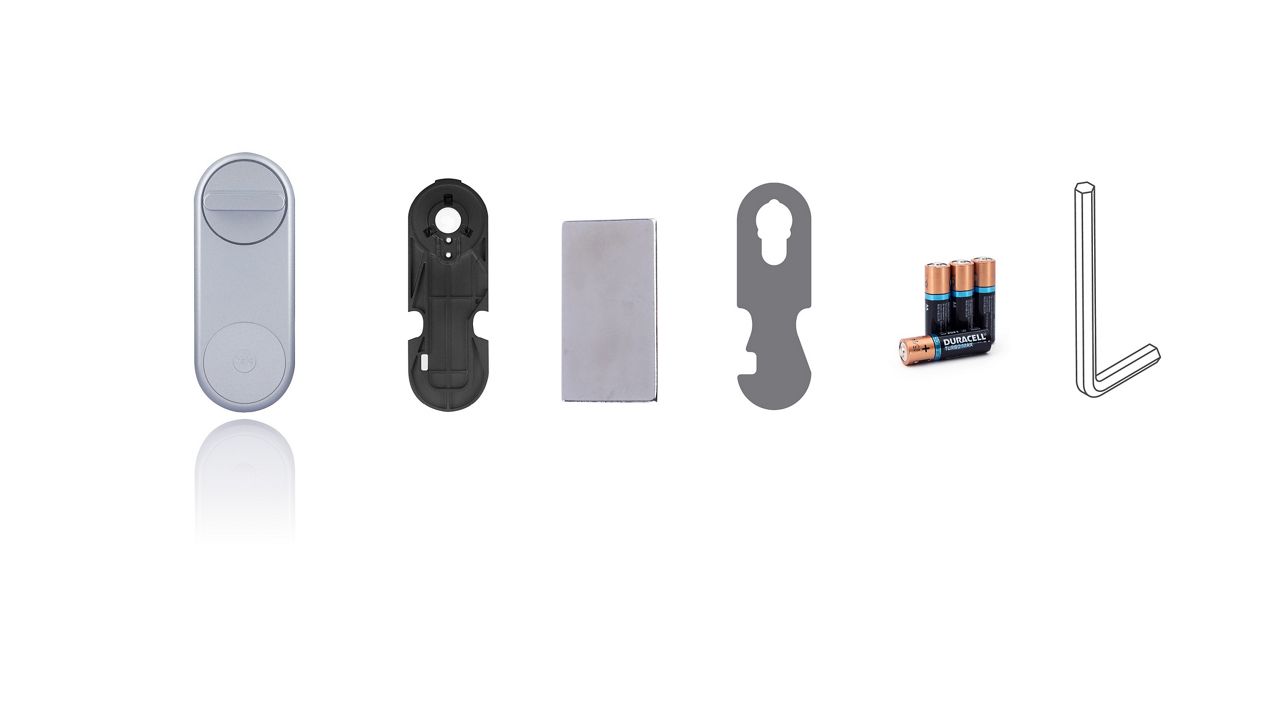
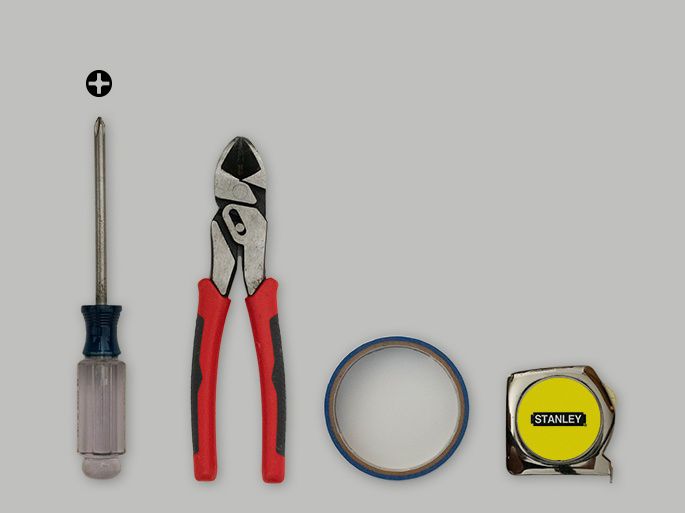
Here you see which components are included in the box and which tools you need to carry out the installation of your new Yale Linus lock.
The box contains the following components:
- Yale Linus
- Backplate
- Thumbturn follower
- Batteries
- Allen key
- Adhesive pad
- Two sets of cylinder screws (long and short)
- Doorsense Magnet
For a standard installation, the tools required are:
- A pozidrive screwdriver
- masking tape
- Screw Cutting Tool
- Tape measure
Below, you will find information on what each of the steps during calibration does:
Step 1 - Rotate your lock completely in the LOCK direction, all the way until it stops. Hold it in this position until the next step.
The first steps in calibration allow the Linus smart lock to know how far it can travel on your lock and to set the limit of travel. Therefore please turn the thumbturn as far as you can in the locked direction until the lock case cannot be turned any further.
Step 2 - Rotate your lock completely in the UNLOCKED direction, all the way until it stops. Hold it in this position until the next step.
Like Step 1, this step sets the limit of the lock in the unlocked direction. Therefore please turn your thumbturn as far as you can in the unlocked position this time until you cannot turn it any further.
Step 3 - Slowly rotate the thumbturn until the door is just locked, stopping after the lock clicks.
This step is designed to tell the Linus lock the point where the lock is just locked (the first point that the bolt has been extended). This both helps the Linus to work out how far to turn, but also allows the Linus to reflect an accurate lock and unlocked status when the lock is turned manually by the thumbturn. In this step you should not turn the thumbturn as far as you did in step 1.
Step 4 - Slowly rotate the thumbturn until the door is just unlocked, stopping after the lock clicks.
This step is similar to Step 3, in that here you should turn the thumbturn to the first point that the lock is unlocked and from the inside you can push down your handle and open the door. You should not turn the thumbturn as far as you did in Step 2.
Step 5 - Rotate your lock until your door latch is retracted, but keep your door closed. Hold it in this position until the next step.
Not all users will see this step as it depends on what type of lock you have. If you do see this step, please turn your thumbturn in the unlocked position until the latch is fully withdrawn. This allows the Linus Smart lock to know how far to turn to unlatch your door.
Installation step-by-step
Installation step-by-step
Step. 1. Unpack Linus®
Take the Linus® unit out of the box and open the wings to remove the mounting plate.

Step 2. Install the Mounting Plate on the Door
Add the mounting plate onto the internal side of your existing cylinder. You may need to loosen the grub screws (the screws on the mounting plate that go around the cylinder) in order to secure the plate properly. This can be done using the Allen key that is provided in the box. Once the plate is on the cylinder, tighten the screws back up holding the short end of the Allen key.

Step 3.
Insert the key into the internal side of your cylinder.

Step 4. Attach Linus® to the Mounting Plate
Mount the Linus® unit onto the mounting plate pushing the top of the unit onto the mounting plate first.

Step 5. Secure Linus® to the Door
Close the ‘wings’ on the Linus® unit to securely fix it in place.

Peel the backing film from the DoorSense™ magnet

Step 6. Place DoorSense™
Stick the DoorSense™ magnet on the door frame, level with the Yale logo on the Linus® Smart Lock.
